A lot of patterns just say “Sew arms/legs/ears on” but, step by step, how exactly do I do that?
What I’ve been doing is leaving the body open, and then weaving the tails of the pieces onto the body, and then taking the tails inside and securing them in a knot. I’m worried that if I don’t make the knot inside, the pieces will come off
I’m still a beginner-ish and that’s exactly what I do so I’m pretty sure it’s secure since I give it a slight tug, I always make sure to do several knots as well i think it’s right unless I’m wrong too lol
Depends on the look you want. You can use a yarn needle to hide the stitches on the backloops, or create that classic whip stitch look by spiraling it up, if you use a SC instead of a needle you can create a lip/texture, a slip stitch line creates a cute dashed effect.
With amigurimi, most of what I see is pressing the pieces together flat, then using the same color as the top piece you weave though the final stitch line like how you would weave in a yarn end.
I can try to get pictures later if you need a visual.
Keep a yarn tail from the start (like from magic ring or something) which goes through your whole piece at the inside (so it’s not visible)
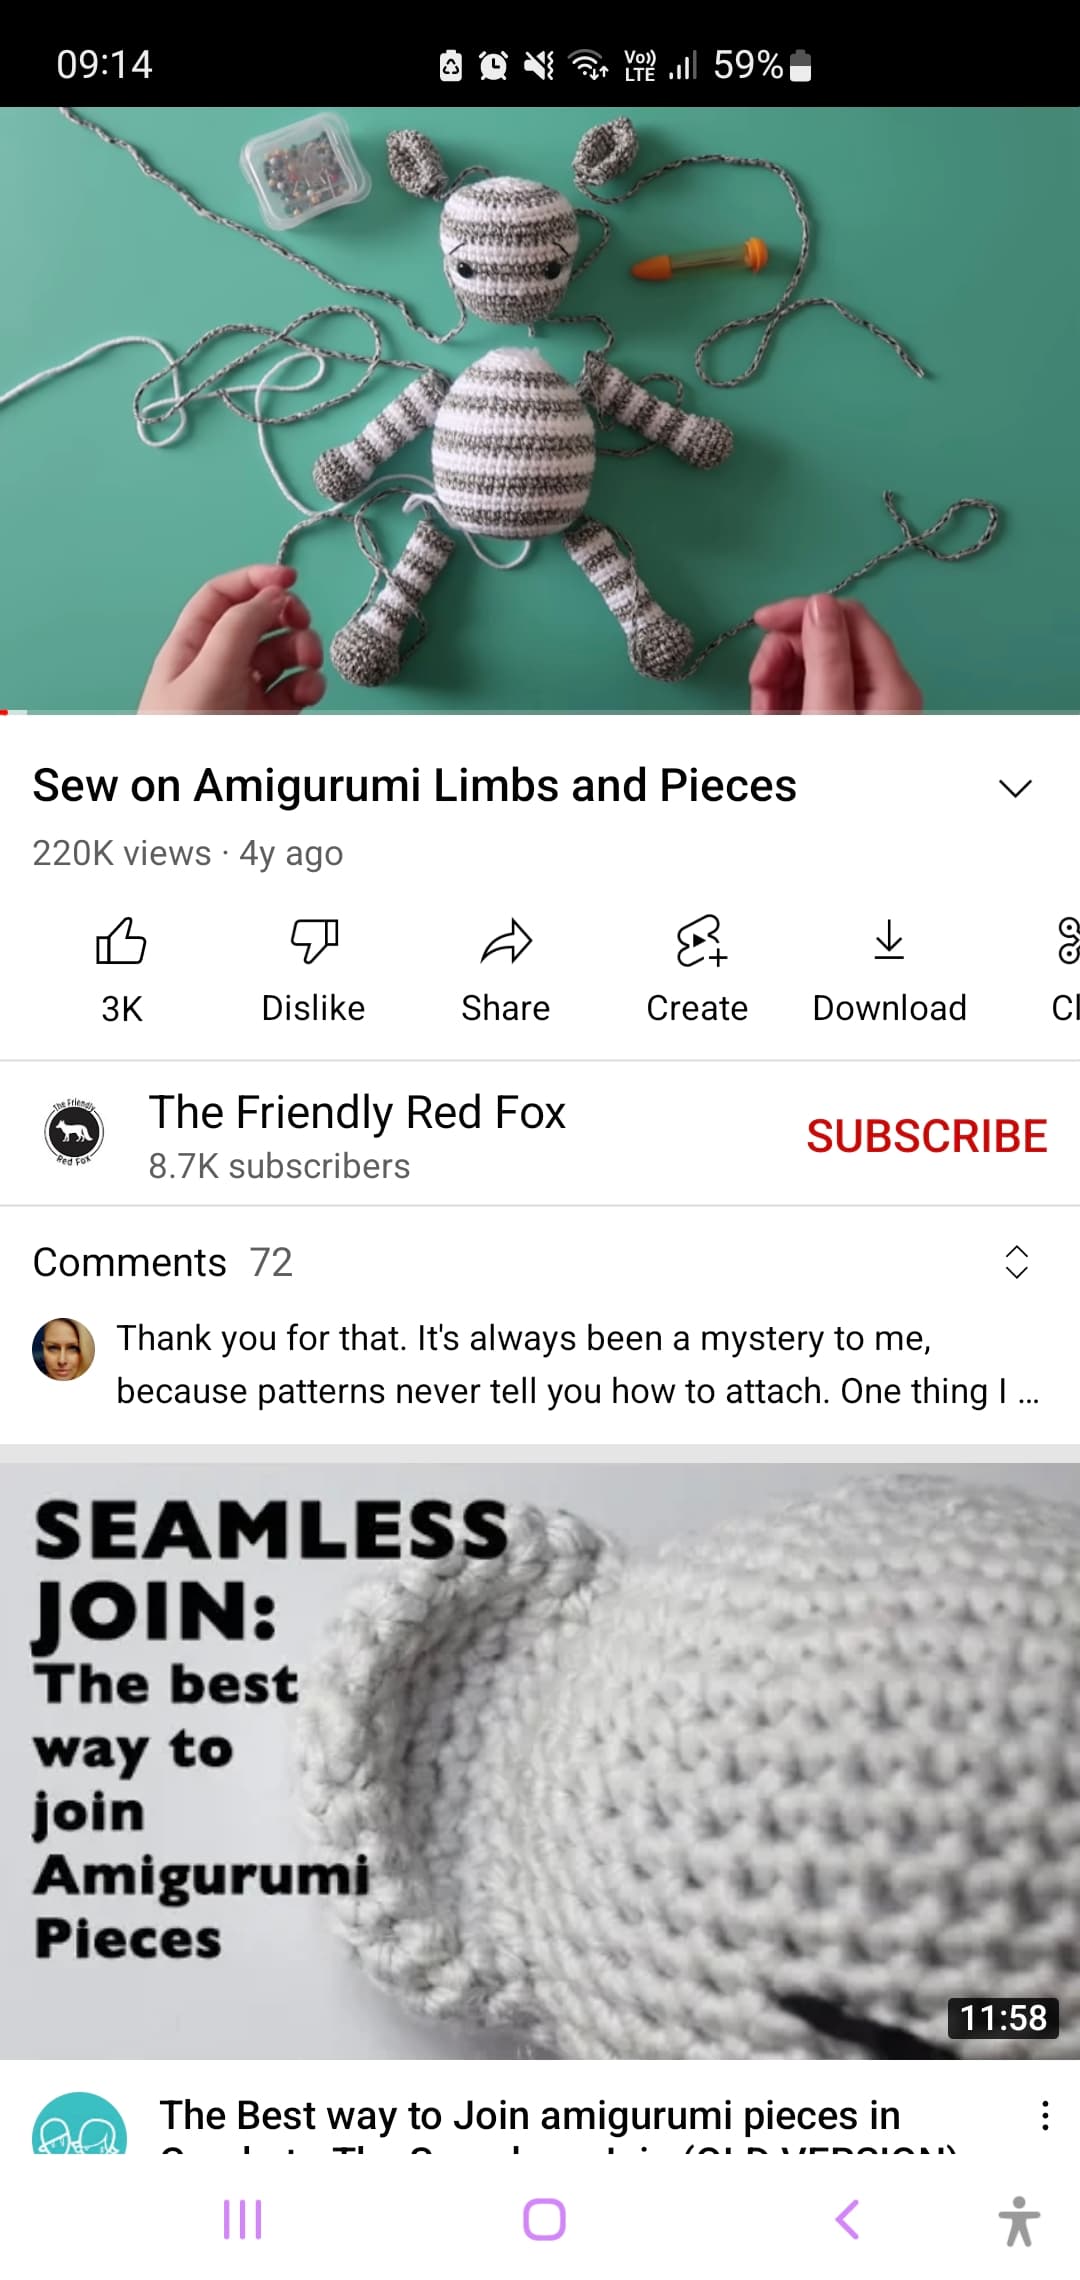
Then after finding the placement, I first get that center yarn tail (magic ring one), just pull it through the center of where you wanna place it and out a few stitches away, then just use that tail in the same way the video does with tying 2 tails together at the end
I finish the body and head first stuff and sew closed.
Once I’m done that I sew each part on as per instructions or where it looks best.
Once I have the tail in the needle and the piece I’m sewing on in the position I want (sometimes I use pins to see if it looks good before I sew on)
I then grab a piece of yarn with my needle and stitch behind it pull up and sew into the piece I’m sewing on and do that back and forth until I’m finished and go through a second time so it’s super secure.
I usually knot it then weave the end in and place a second knot. Grab a crochet hook and pull the yarn through the stuffing so it’s secured.
Hope that helps so far none of my pieces have come loose.
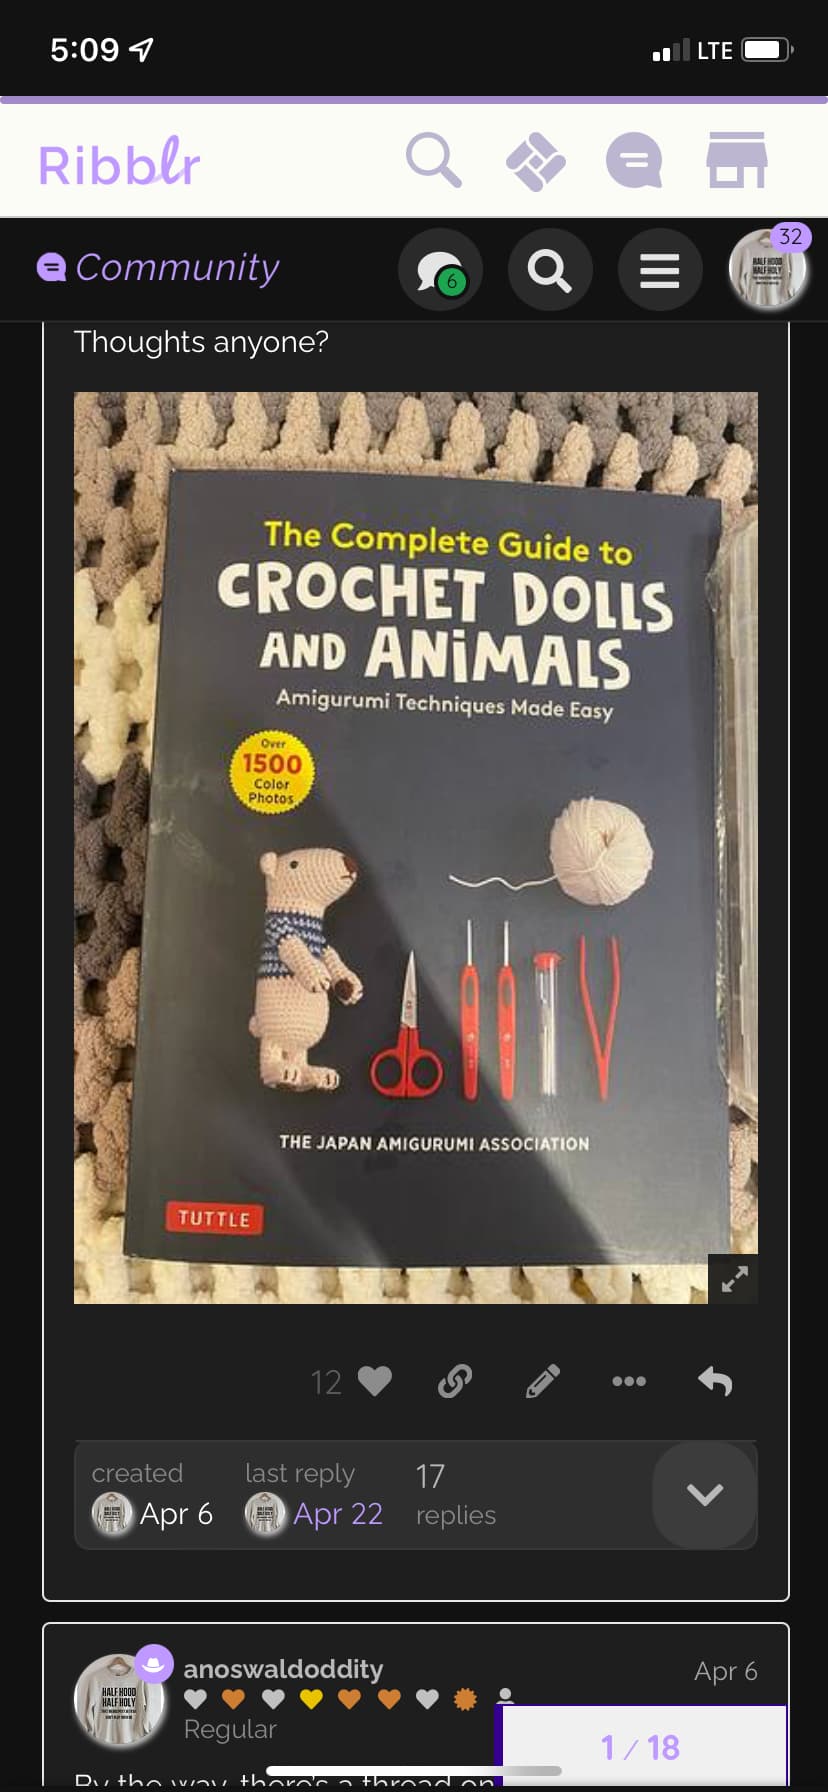
After ALOT of book and internet surfing the above book is the best book for answering all amigurumi techniques, tips, and tricks.
I highly recommend it. Bought it on Amazon.
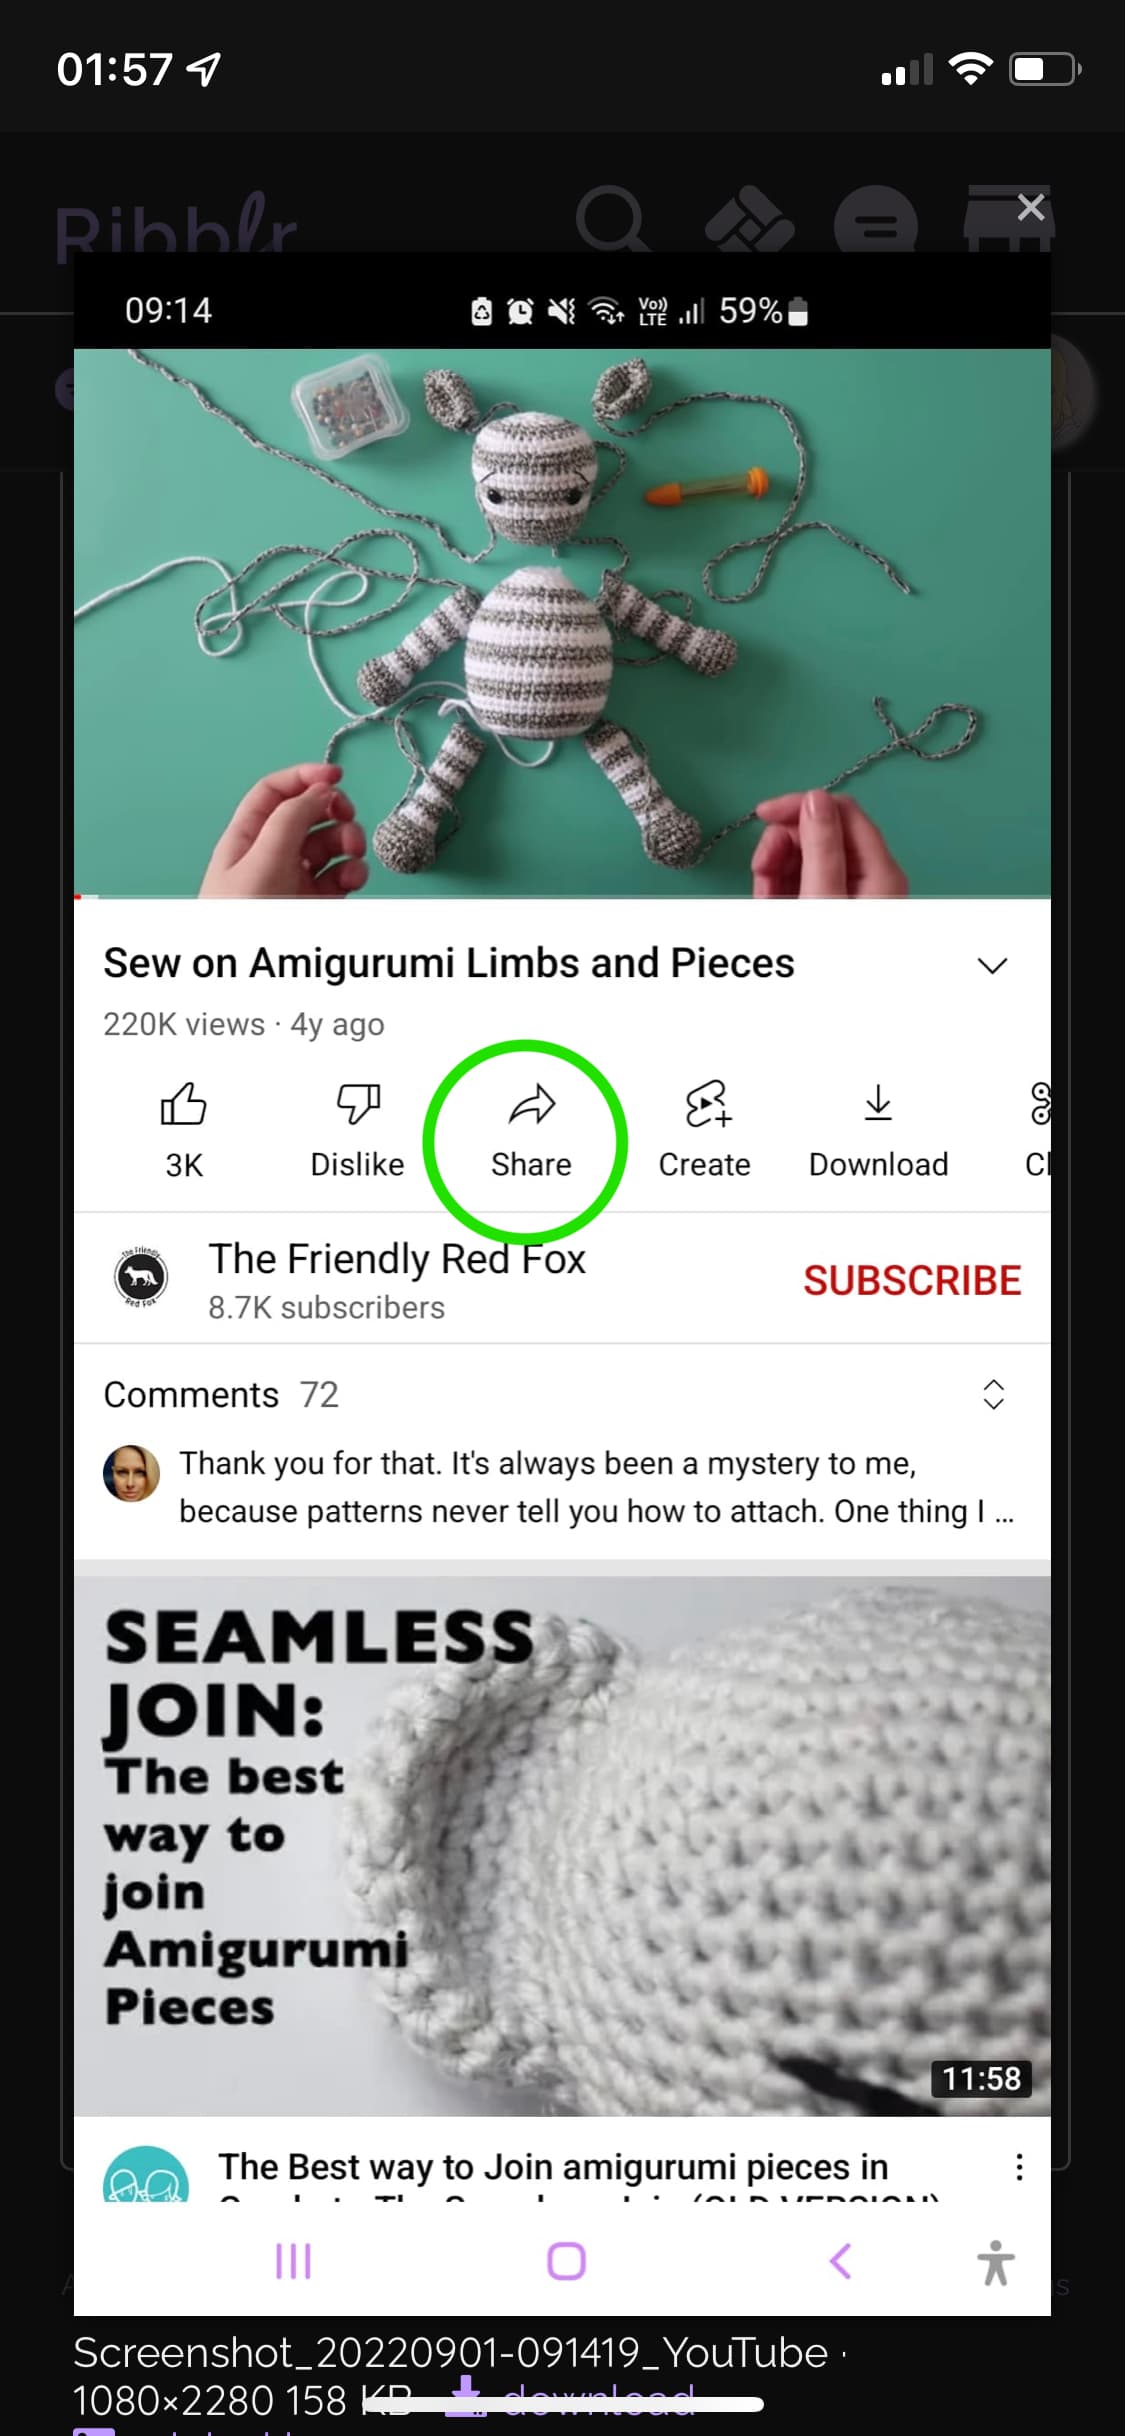
Press the share button, that should give some options, copy link works great, then whenever you’re in a chat, you usually can press paste and the link should be in chat
(on mobile at ribblr, if I press the little purple line that shows where you’re typing, you’d get an option to paste) (op laptop it’s usually right click and then paste or ctrl+v on keyboard)
To sew amigurumi pieces together, hold the open (unseamed) piece on top of the closed (smooth) piece. Thread a tapestry needle and insert the needle through the next stitch of the closed piece, then thread it under the stitch of the closed piece directly under. Thread it upwards through the next stitch of the open piece, and repeat.
Well, you can do a square knot of tails in the inside of the Amigurumi along with threading long tail in opposite directions of the amigurumi. @murhuedur
Make sure you leave a tail of 3-4 times the size of the amigurumi so you have enough to thread throughout.


")