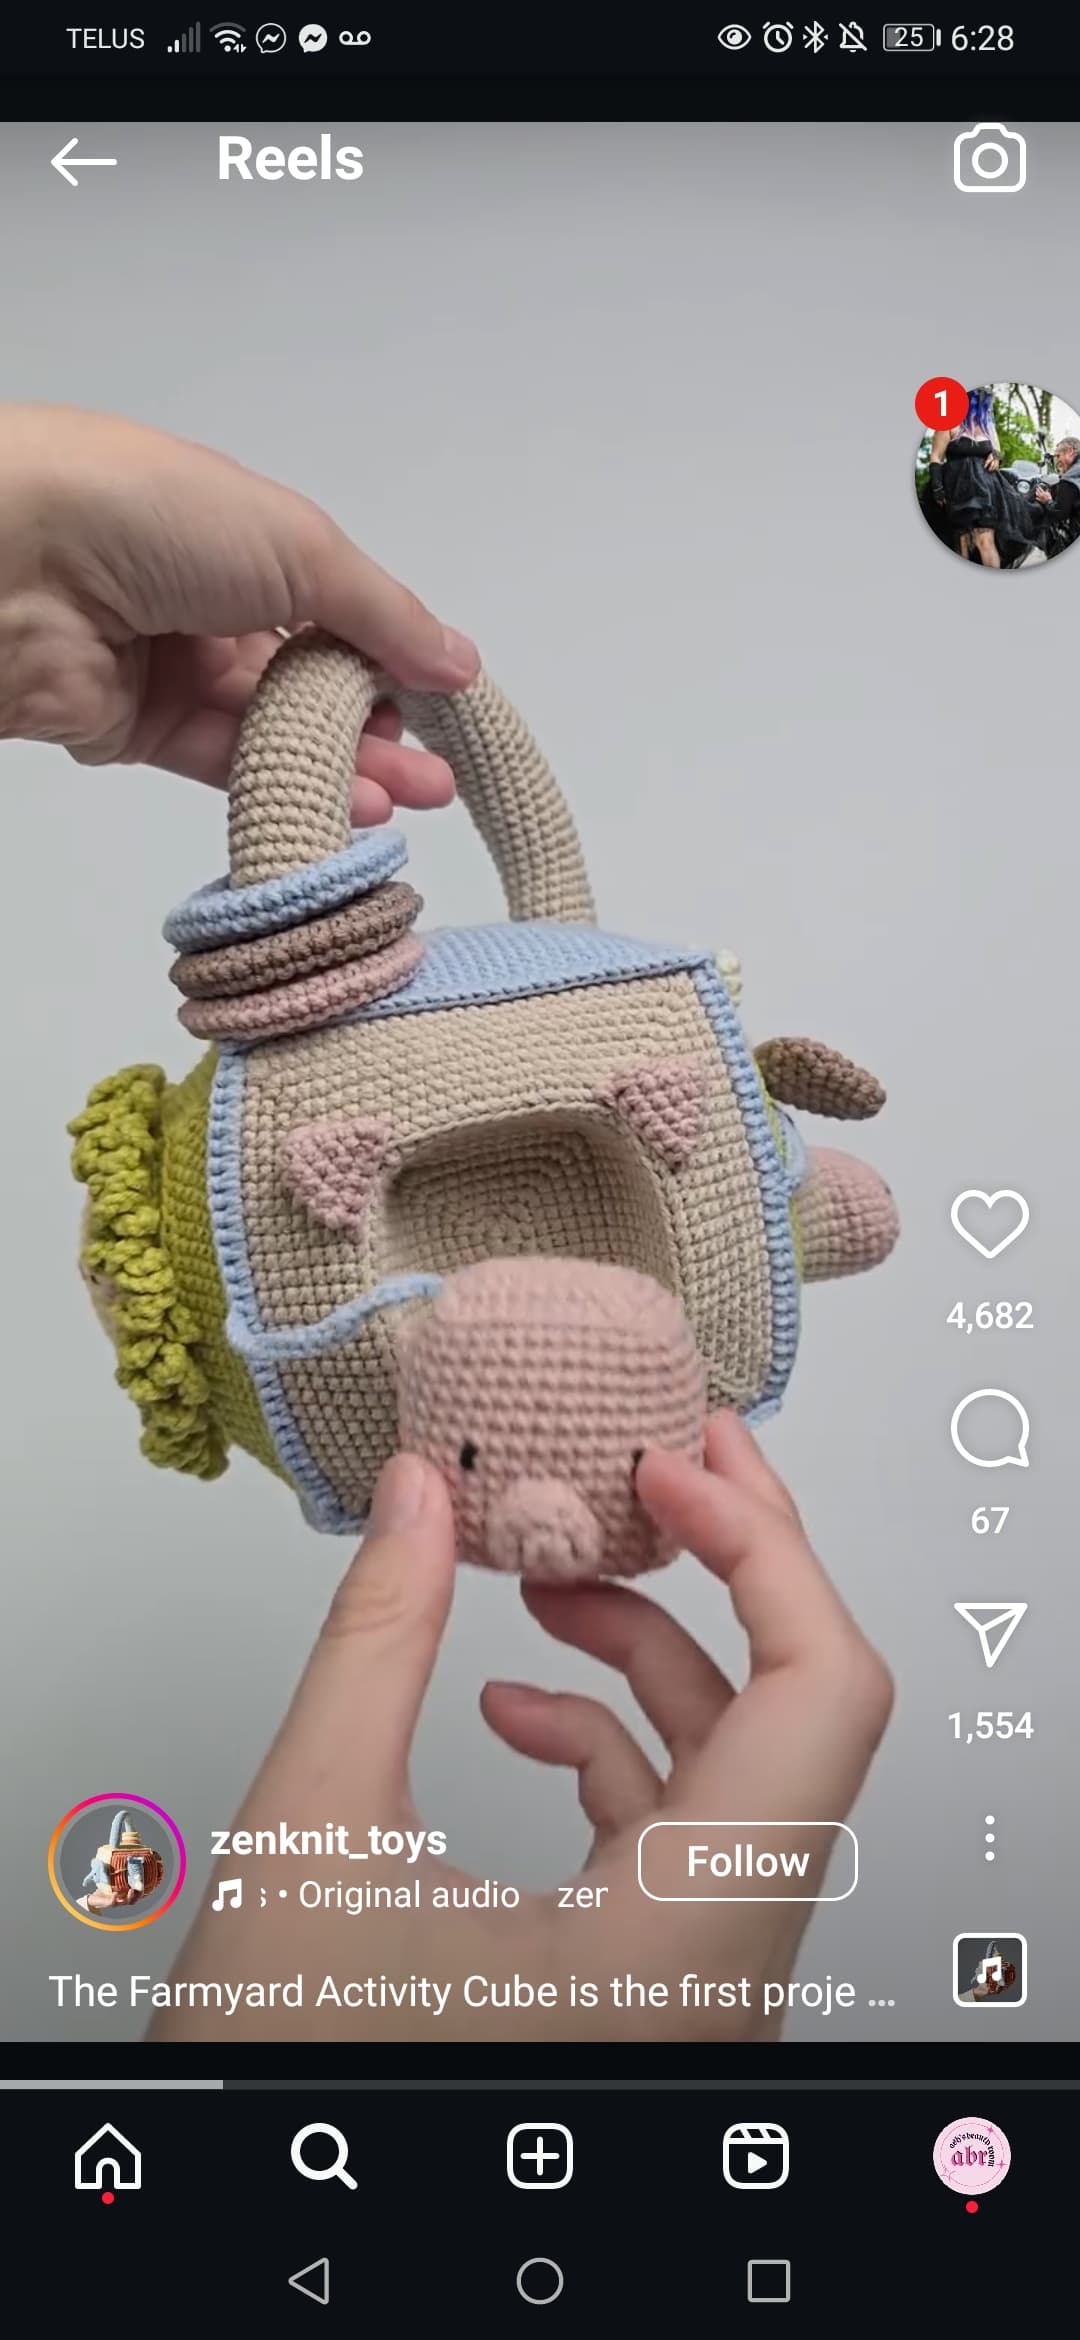
I chose a photo that best shows what I’m trying to accomplish. Does anyone know how I would go about having a circle made in the round and then having a flat square around it? The circle is as like the photo for the purpose of having an indentation for what I need but I’m really trying to avoid buying that pattern just for one piece I have no other reason to need that pattern. Everything I’ve found so far is using a solid granny square but there’s still gaps and I don’t want gaps in my amigurumi
11 Likes
Do you mean you want a circle instead of the square hole pictured? Or just how to do the hole the same way
2 Likes
My wording isn’t coming out the way it sounds in my head but essentially I want a square that has a circle shape like punched into it if that makes sense? Or a way to go from crocheting a circle in the round and having it have a flat square border around it, kind of like how alot of people when making a whale shark will start with pink, then some white and then moving onto blue they just pop the pink inwards and the whale shark then would have an open mouth and a “hole”
3 Likes
Have you tried crocheting once done the circle part crocheting in the back loop only for the flat square part ? Hopefully this makes sense
2 Likes
Maybe put an increase with 3 stitches in te corner instead of chains?
3 Likes
Based on the picture it looks like it is a square hole in a cube, which would be a easier to do rather than a circle hole in a cube (but thats still possible). I’ll do a quick explanation on how to do both using US terms.
To do the square in a cube:
R1: in MR, 4sc (4)
R2: (3sc in one st) x 4 (12)
R3: (sc, 3sc in one st, sc) x 4 (20)
R4: (2sc, 3sc in one st, 2sc) x 4 (28)
Keep repeating this pattern until you have the size of the hole you want, then in the next round do FLO sc around, then in the next however many rounds it takes to get the depth of the hole you want continue to sc around. Once you reach the depth you want, in the next round do BLO, and repeat the pattern above, picking up where you left off. You will continue to repeat this pattern until you reach the size of square you want.
For a circle hole in a cube:
It is important that the st count is divisible by 4 since you need to make four sides of the square, so I’d recommend starting with 8sc and increasing by 8sts each round.
R1: in MR, 8sc (8)
R2: 8inc (16)
R3: (sc, inc) x 8 (24)
R4: (sc, inc, sc) x 8 (32)
Continue until you reach the size of the hole you want, then like the other method above, do sc around until you reach the depth you want (first round in FLO, then the rest of the rounds in both loops). Then once you have the depth the next round will be done in the BLO, and the rest will be done in both loops afterwards until you reach the size you want.
There are two main ways (that I know of) to get a square shape from a circle, divide your st count by 4 and repeat one of the two methods below: [this is for ONE SIDE of the square, so repeat these sequences in number you got when you divided by 4. So for example, you had a st count of 32, divide it by 4 and you get 8 sts - this example will be used in the methods below]
- Sc until last st of the divide by 4 st count, 3sc in one st repeat 4 times to complete the round [so for the 32sts/4=8, you would do: (7sc, 3sc in one st) x 4 (40)]
- (Hdc and sc in one st), sc until the last st of the divide by 4 st count, (sc and hdc in one st), repeat 4 times to complete the round [so for the 32sts/4=8 you would do: (hdc and sc in one st, 6sc, sc and hdc in one st) x 4 (40)]
I hope that makes sense… The first method may take a minute to look like a square, so I would use it is you are going to increase with SEVERAL rounds, otherwise I would go with the second method (and I would use a joined round method for this too). Each method you are increasing your st count by 8sts each round.
Hope this helps!
4 Likes
Thank you I’m going to try this out! I found the solid granny square pattern and thought to try the way the corners are done but I didnt like the gaps then my mum sent me a link to a pattern for a granny square that has a circle and then you do the square bit around but it still had a gap ![]() Once this part is done I probably have about another day or so to be able to post my first pattern
Once this part is done I probably have about another day or so to be able to post my first pattern
2 Likes