I have finished my jumper at last, will be translating all my working scribbles into a pattern next
am currently working on the top to bottom raglan jumper and thought I would share calculation tips and also all the mistakes that I have made and had to correct so that if you decide to try a raglan, you can avoid them:
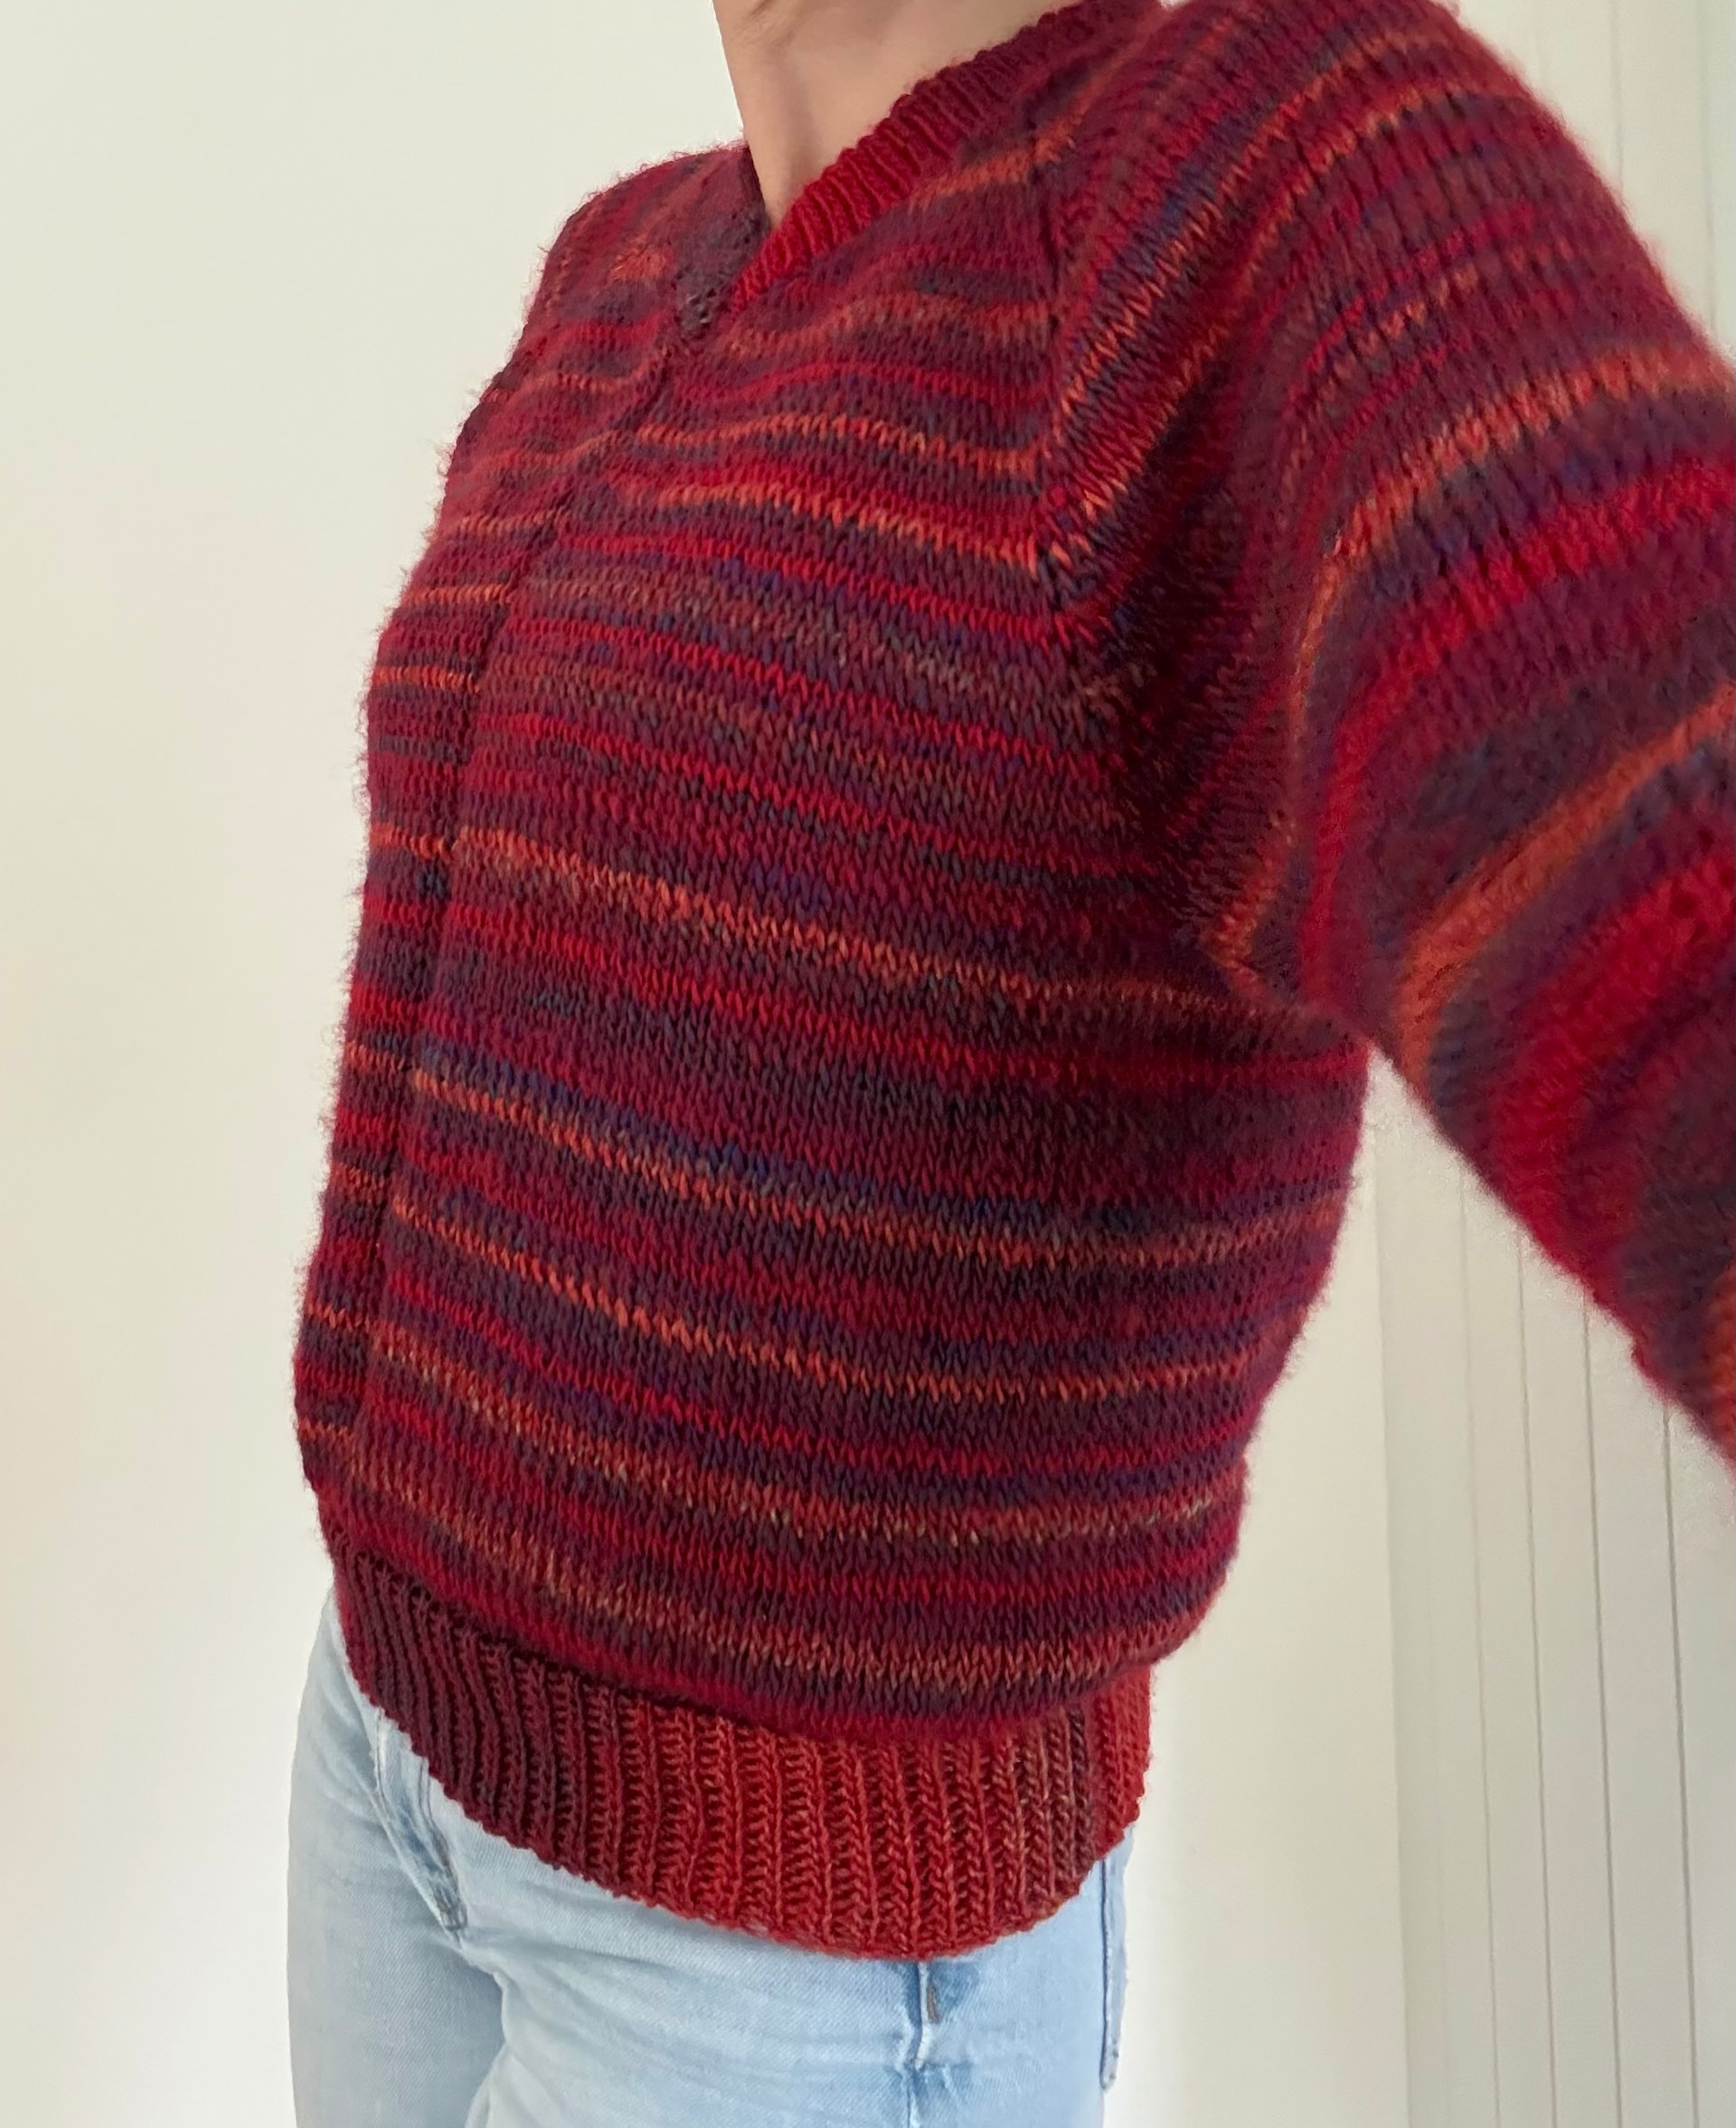
- I have square shoulders - to make the raglan sit better I had to do increases in every row right up to the shoulder line where the arm starts and only then I started increasing in every second row. If you have normal sloping shoulders, increase in every second row.
- Counting stitches on the cable after each forward row is important. It’s very easy to lose a stitch or two and then discover that your left shoulder is 2 stitches shorter than your right one. I had to unravel and redo 5 times, maybe shouldn’t have been watching The Night Manager while crocheting

- The front and back width: I have nothing in particular to boast about in my bust department, so my front is almost the same width as the back - I will add a cm or so when connecting the two front panels together with a decorative seam later. If you have a larger bust, I recommend making the front panel slightly wider for a better fit.
- I used a standard 3 cm back extension at the end of the raglan. However, if you have a slightly rounded upper back or large bust, consider a longer extension for a better fit.
Please, add your experience with raglan jumpers, let’s make it a knowledge exchange 
10 Likes
The easy bit is after you connect the body panels (back and front) into one bit which you crochet straight - it’s growing nicely
2 Likes
I have now reached the length I want and connected the front panels with a vertically running seam - this is because I am not very tall so I wanted to break the horizontal stripes a bit and visually give myself a bit more “vertical length”  . Now doing the neckline - ribbing made separately with slip stitch in back loops and attaching it to the neckline. It’s starting to take the shape I imagined
3 Likes
When in doubt - unravel :)) and so after a bit of consideration I have unravelled the ribbing on the neckline and edge row (the bits I didn’t like) and am about to redo them.
Fluffy yarn is a big pain to unravel. I find what helps is to stretch the fabric itself a bit to help loosen the stitch where it’s stuck.
2 Likes
Version 2 :)) I am happy with this so on to the sleeves now
3 Likes
An update on crocheting in rounds with a cable hook. I am doing a sleeve at the moment, and I wanted it with no seam, so I crocheting it in a connected circle. When you do it with Tunisian, the 2 challenges here are: 1. Make sure your connector stitch doesn”t travel right with each row. 2. Make sure the connector stitch is firm and doesn’t leave untidy holes. Also, although the connector stitch runs underarm, I want it to look neat and nice. Here are 2 videos on Threads showing how I connect the start and the end of the row: first video shows what to do in the forward pass, second - in the return pass: https://www.threads.com/@knots_of_nonsense/post/DVBpk57jCLg?xmt=AQF0mgWN5r6HgiLfU9nzfqf9CLjmZZuf8eVeRLEwxYv0oSGxn3AqEqXhMJVLT5-PykINVw4&slof=1
2 Likes
yes, plus i use a fine needle to pry the two yarns apart, there is usually a bit of yarn thatbis making the two yarns stick together.
Also, you might consider using this, game changer for me.
It does’nt say what its made of, but I susoect it is beeswax.
2 Likes
Oh, thanks, this is valuable 
2 Likes
By the way, this looks fabulous, but you also make it look doable.
2 Likes
Thank you  , it takes a bit of adjusting, but it’s not too hard
2 Likes
And after countless unraveling, one sleeve is ready and I am almost nearly happy with it 
Also, did a few how-to videos on various bits which will be included in the pattern
2 Likes